Editing model |
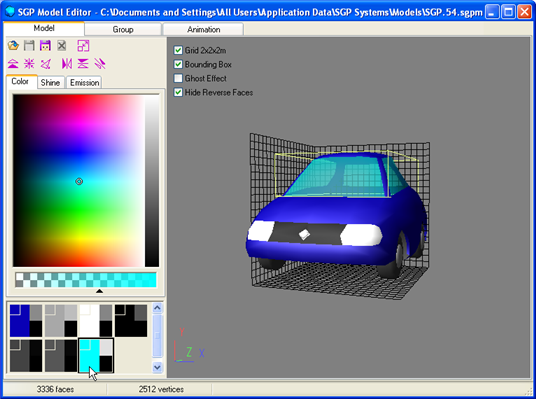
A file of the simple model contains the information about model's shape and used substances. You can easily edit some of these parameters by the SGP Model Editor tool.
The toolbar in the left section of tab can be used for these modifications.
There are buttons in toolbar's top section that are intended for manipulation with files and for changing the size of the whole model.
There is a field bellow them. It serves for setting the color of selected part of the model.
The horizontal squared bar with the black triangular scroller serves for opacity setting of the selected part of the model. Moving the scroller to a very right position sets an opaque color. Moving to a very left position sets an all transparent color.
The squares below the opacity setting bar represent particular parts of the model. By its color you can anticipate which part what square belongs to. However, if the part of the model is filled with some kind of the pattern, such as "woody" coachwork in the picture, you won't see this fact on the square. You will find just a color that is added to a color of the pattern.
By clicking on a square you set an appropriate part and you can change its color and opacity using controls on the top of the toolbar.
The squares that correspond to parts whose color you have changed, have got a little square with the original color of the part displayed in the left upper corner. Should you decided to restore an original look of the part, just click on this little square.
Substances, including patterns, that are used for particular parts of the model can be copied using a clipboard. If you click with the right mouse button on one of squares representing particular parts of the model, a pop-up menu will arise. This pop-up menu allows you to copy the substance to the clipboard or, in reverse, take the substance from the clipboard and apply it to the model part.
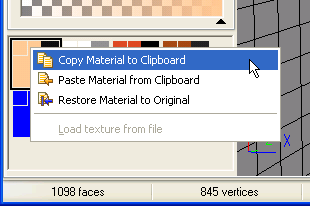
When the substance had been copied from the clipboard, a little square for easy return to the original substance appeared in the square again.
Was this helpful?


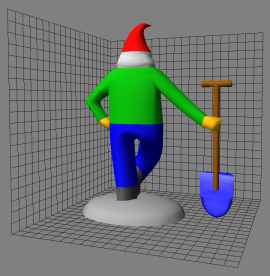
The workspace shows the model that is being changed. When you push the left or the middle mouse button, you can then turn the group in the horizontal or vertical axis by driving the mouse.
You can zoom in or zoom out the model when you rotate the mouse wheel or move vertically the mouse with either the left mouse button or the Shift key pressed.
There are three check boxes in the left upper corner of the workspace:
- Grid 2×2×2m
which controls a grid display. The grid allows you to estimate the size of the model. Besides, it helps you to recognize its current orientation and placing of the particular parts.
With large models the grid can be possibly "drowned" somewhere inside a model.
- Bounding box
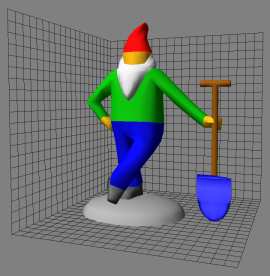
controls whether the edges of the bounding box of some model part are displayed, when you point at it. Displaying these edges helps you to determine a global size of the part.
- Ghost effect
controls whether, when you point at some part of the model, the other parts of the model will be shown transparent so the part come out and it is obvious what all belongs to it.
- Hide reversed polygons
controls, whether reversed polygons of the models will be drawn.
Was this helpful?
The status bar next to the lower edge of the tab shows, how many polygons the model consists of and how many vertexes these polygons have got. These numbers imply the complexity of its drawing.
Was this helpful?
| Open Model... | |
| It opens a model browser that shows models available for Baltie. When you click with the right mouse button on the model preview, the model will enlarge and can be seen from all angles. When you click with the left mouse button on the preview, the model will open for editing. | |
| Save Model | |
|
It saves changes of the model being edited. For further details about saving models and its groups together with the guidelines for choosing its names see the page
Model and Group Saving.
If some groups contain the model, saving will affect them as well. In another words, the model inside will change its form in appropriate way. System library models cannot be saved, so that this button remains disabled for them. | |
| Save Model As... | |
|
It saves the model being edited as a new model with a new name. The original mode stays untouched.
For further details on saving models and their groups see the page Model and Group Saving. | |
| Delete Model | |
|
It irrecoverably deletes the model being edited. Use this command only if you know for sure that no group contains the model being edited. The editor will not check it for you.
System library models cannot be deleted, so this button remains disabled for them. | |
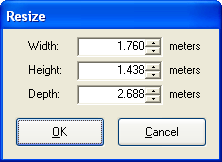
| Resize Model... | |
It opens a dialog, which allows you to change the size of model being edited. Even though the dialog shows the scales of all three dimensions, it allows you to change a size of the complete model only. As soon as you set one size, the others are automatically recalculated. You can, however, decide which dimension you will set.
 | |
| Flip faces | |
|
Changes all near side polygons to the reversed and vice versa. This will manifest on the model's appearance if the hiding of reversed faces is on or off.
We use this function mostly when editing files with 3D models created in systems with different coordinates systems. 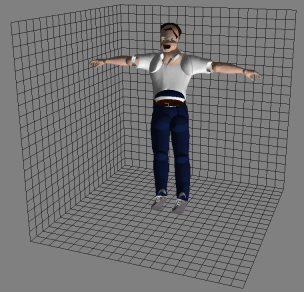 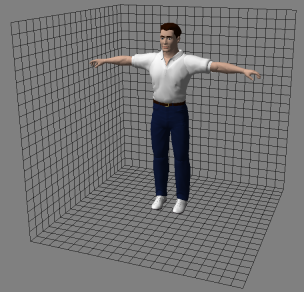 | |
| Center | |
|
Modifies the model to get his pivot into the middle of its mesh.
| |
| Invert normals | |
|
Inverts normals of the model to the inverse direction.
We use this function mostly when editing files with 3D models created in systems with different coordinates systems.  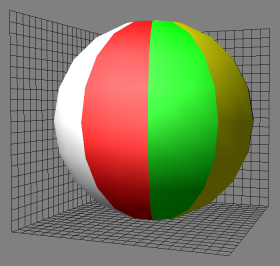 | |
| Invert X Values | |
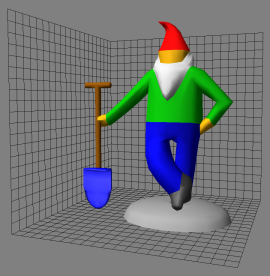
Changes model to its specular copy alongside the YZ plane (left to right).
  | |
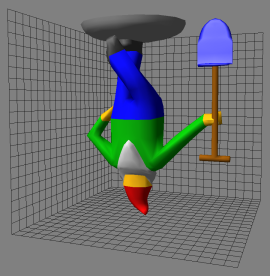
| Invert Y Values | |
Changes model to its specular copy alongside the XZ plane (top to down).
 | |
| Invert Z Values | |
Changes model to its specular copy alongside the XY plane (front to rear).
 | |
Was this helpful?
Did you find this information useful?
Documentation of SGP Baltie 4 C#
Send us comments on this topic by this form ©1978-2010 SGP Systems